
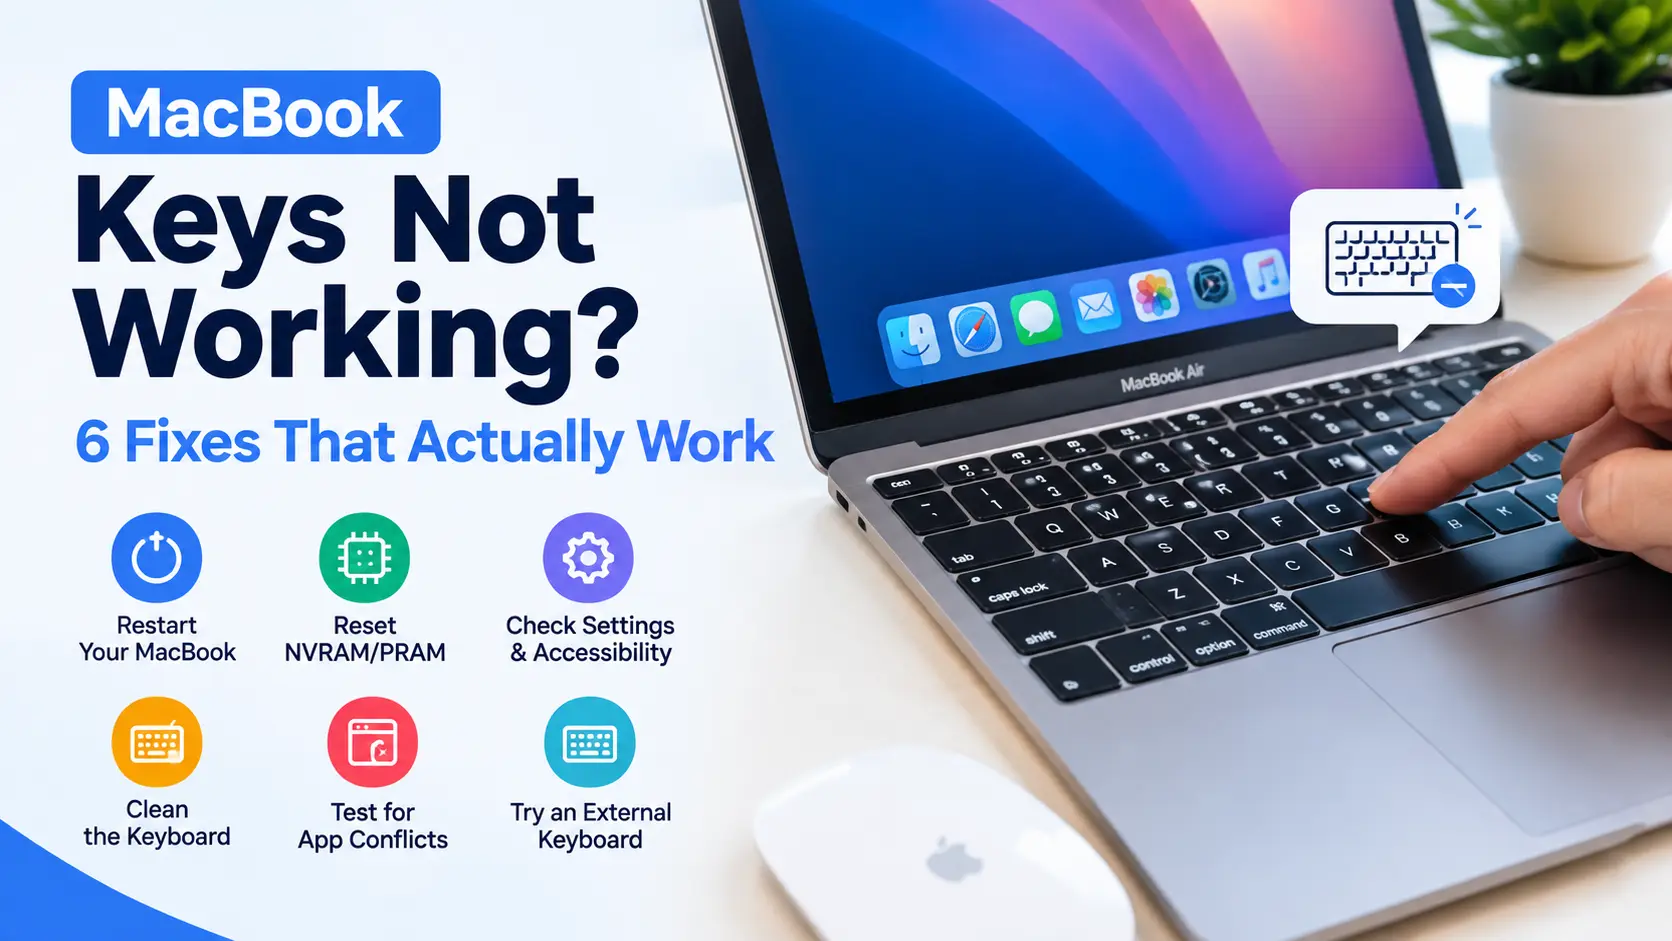
A few unresponsive keys on your MacBook usually comes down to one of three things: trapped dust or debris, a software glitch, or in rarer cases, actual keyboard damage from a spill. Before you assume the worst, work through these fixes in order — most people solve it without needing a repair at all.
1. Restart Your MacBook
It sounds too simple, but restarting your MacBook can clear temporary software glitches that may be causing certain keys to stop responding.
Click the Apple menu in the top-left corner of your screen and select Restart. Once your MacBook starts back up, test the affected keys again.
If the keys still aren’t working, move on to the next step.
2. Reset NVRAM/PRAM
NVRAM and PRAM store certain settings that your Mac uses during startup. On some Intel-based Macs, resetting them can help when settings are interfering with normal keyboard input.
To reset NVRAM or PRAM on an Intel-based Mac:
- Shut down your Mac completely.
- Turn it on and immediately press and hold Option + Command + P + R.
- Continue holding the keys for about 20 seconds, then release them.
Apple lists Option + Command + P + R as the NVRAM/PRAM reset combination for Intel-based Macs. The startup process is different on Apple silicon Macs, so this key combination does not apply in the same way.
If you’re unsure which type of Mac you have, check Apple menu > About This Mac before trying this step.
3. Check for an Input Source or Accessibility Setting
Sometimes a key that appears to be broken is actually being affected by a keyboard or accessibility setting.
First, check your keyboard input settings. Go to Apple menu > System Settings > Keyboard and review your Input Sources to make sure the correct keyboard layout and language are selected.
You should also check whether Mouse Keys has been enabled accidentally. Mouse Keys can use certain keyboard keys to control the pointer instead of entering characters normally.
Go to System Settings > Accessibility > Pointer Control and make sure Mouse Keys is turned off if you don’t use the feature.
This is particularly worth checking if keys such as 7, 8, 9, U, I, O, J, K, or L are behaving unexpectedly.
4. Clean the Keyboard
Dust, crumbs, and small particles underneath a key can prevent it from registering properly. A small spill can also cause keys to become sticky or unresponsive.
Before cleaning, shut down your MacBook and disconnect it from power.
Hold the MacBook at roughly a 75-degree angle and use compressed air to spray the affected keys from left to right. Repeat the process from the other direction if necessary.
Avoid spraying liquid cleaners directly onto the keyboard.
If a key feels sticky, sunken, loose, or physically different from the others, don’t force it or remove the keycap unless you know how to work with MacBook keyboard mechanisms safely.
5. Test for App Conflicts
If your keyboard problem started shortly after installing a new application, that app could be interfering with keyboard input.
Think about what changed around the time the problem started. If you recently installed a keyboard utility, optimization tool, virtual machine software, or another application that interacts with your system, try uninstalling it temporarily and check whether the keyboard starts working normally.
You can also use Safe Mode to help determine whether software that loads during startup is contributing to the problem.
The steps depend on your Mac:
- Intel-based Mac: Shut down your Mac, turn it on, and immediately press and hold Shift until you see the login window.
- Mac with Apple silicon: Shut down your Mac, then press and hold the power button until you see the startup options. Select your startup disk, hold Shift, and choose Continue in Safe Mode.
If the keyboard works normally in Safe Mode, a software or startup-related issue may be contributing to the problem.
6. Test With an External Keyboard
Connect a wired or Bluetooth external keyboard to your MacBook and test the same keys.
If the external keyboard works normally while the built-in keyboard does not, the problem is more likely to be specific to the MacBook’s built-in keyboard.
If the same keys or input problems occur with the external keyboard as well, the issue may be related to macOS settings or software rather than the physical keyboard itself.
This simple test can help you narrow down whether you’re dealing with a hardware-specific or software-related problem.
When It’s Time for a Professional Repair
If you’ve been through all six steps and specific keys are still unresponsive, especially after a spill or when the keys feel physically different, the problem may be related to the keyboard hardware.
Liquid damage deserves particular attention because moisture can affect components beneath the keyboard and may cause problems beyond the individual keys. Avoid continuing to use or disassemble a MacBook that has suffered a significant liquid spill.
Instead of removing the keyboard, battery, or internal components yourself, it’s safer to have the MacBook properly inspected and diagnosed.
The Mobile Hub can diagnose and repair MacBook keyboard issues at its Annerley, West End, or Gladstone stores. Depending on the issue and parts availability, some repairs may be completed the same day.
FAQs
Q: Can I fix a MacBook keyboard myself if a key is physically stuck?
A: It’s possible for a single stuck keycap (often from dust), but MacBook keyboards since 2016 use a very thin, delicate mechanism that’s easy to damage further if you’re not experienced. For anything beyond gently cleaning around a key, it’s safer to get it looked at professionally.
Q: Will a keyboard replacement wipe my data?
A: No — a keyboard repair is a hardware-only fix and doesn’t touch your data. It’s still smart to back up beforehand as standard practice for any repair, but the keyboard itself has nothing to do with what’s stored on your Mac.